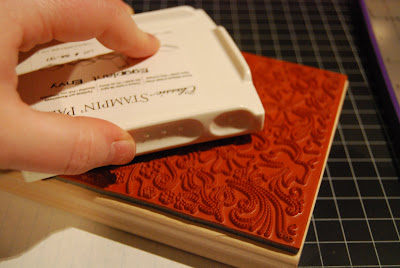


the card after being stamped with the background stamp "Stitched"

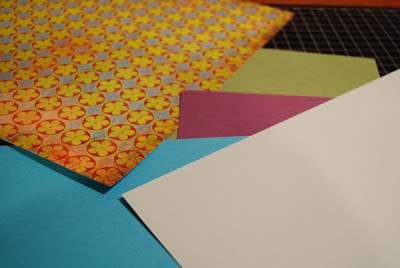
cut my papers into strips 1" x 4 1/4" -- you can see I had changed my mind on the patterned paper, and I also decided not to use some of the cardstock I had picked out, just to keep it simple
chose ink colors for my stamps and decided on placement of papers on the card front

inked up the flower stem

cleaned off the stamp on my stamp cleaner pad (wow, I took pictures of everything)

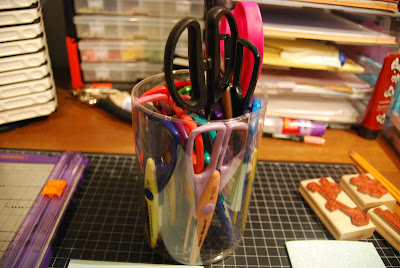
put my ink away... okay, I just wanted to show you a piece of my world... this is a corner of my scrapping table, where you will find me most days during the boys' naptime/bedtime :-)

inked up my flower head
stamped the flower head on the Soft Sky paper

stamped the greeting (sentiment?) on a piece of the cardstock
picked out my scissors
cut out the flower stem
began to adhere the layers together
turned the flower head around until I liked the placement
got out my big glue dots
divided one glue dot into 3 pieces and stuck them to the back of the flower head
the finished product -- it says "Be Yourself -- Nobody is better qualified!"
And here is a list of what I used:
YCardstock - Soft Sky, Elegant Eggplant and Wild Wasabi (Stampin' Up!)
YPatterned Paper - Oh, Baby! (Basic Grey)
YStamp Sets - Doodle This, Smarty Pants and Stitched (Stampin Up!)
YInk - Elegant Eggplant and Wild Wasabi (Stampin' Up!)


oh, so fun! and beautiful too! I don't think I am "cut out" for that detailed of a paper process!!! whew...but look forward to your next demo :)
ReplyDelete